Motorcycle photo shoots: 7 Powerful Tips for Stunning Results 2025
Capturing Your Motorcycle’s Soul: The Art of the Photo Shoot
Ever notice how some motorcycle photos just grab you? They make you stop scrolling and think, “Wow, I want to ride that.” That’s no accident.
Motorcycle photo shoots are thoughtfully planned sessions where photographers—whether pros with fancy gear or enthusiasts with smartphones—capture the essence of these magnificent machines. The magic typically happens during what photographers call the “golden hour”—those precious moments after sunrise or before sunset when the light bathes everything in a warm, flattering glow. Using lenses of 50mm or longer helps avoid distortion, while getting down low for those dramatic angles makes even the most modest bike look like it belongs in a magazine.
If you’re itching to showcase your pride and joy properly, here’s what you need to know:
Timing is everything. Those early morning or late evening hours provide soft, directional light that caresses your bike’s curves and chrome rather than creating harsh reflections. Equipment choices matter too—a camera with a 50mm lens or longer (I’ve found the Sigma 56mm f/1.4 works wonders) will capture your bike’s proportions most naturally. Get low for your angles—shooting from tank level or below creates that powerful, commanding presence. Keep your backgrounds clean and complementary—your bike is the star, not that dumpster in the alley. And for goodness’ sake, thoroughly clean your motorcycle beforehand—cameras catch every speck of dust and fingerprint!
As one professional motorcycle photographer told me, “The greatest thing about motorbike photography is, the hard work is already done for you.” After all, motorcycles are already works of art—we’re just documenting them.
I’m Sonny Da Badger, founder of Support Bikers and someone who’s spent countless hours behind both handlebars and cameras. I’ve coordinated motorcycle photo shoots for everything from helping buddies sell their bikes faster to capturing our community rides and rallies. There’s something special about preserving these moments—they strengthen the bonds between riders and help tell our stories.

Looking to dive deeper into motorcycle culture? Check out our resources on Custom motorcycle helmets, connect with Custom motorcycle builders, or plan your next trip with our guide to Motorcycle routes USA.
The Journey Begins
Feeling when you first threw a leg over your dream bike? The rumble beneath you, the wind in your face, the freedom of the open road—these aren’t just rides, they’re chapters in your life story.
Every motorcycle carries memories: that first bike you saved years for, the custom build that had you turning wrenches until 3 AM, or the cross-country trip where you finded parts of yourself you never knew existed. These aren’t just experiences—they’re part of who you are as a rider.
At Support Bikers, we get it. We understand that motorcycles transcend mere transportation. They’re rolling expressions of independence, personality, and passion. A well-executed motorcycle photo shoot transforms those intangible feelings into tangible memories—visual stories that capture not just chrome and steel, but the spirit of what makes riding so special.
When I look at photos from rides gone by, I’m not just seeing a motorcycle. I’m revisiting the moments, the feelings, the trips. That’s the power of good motorcycle photography—it preserves not just images, but emotions. And in a world that moves too fast, having these visual memories to hold onto means everything to those of us who live to ride.
Motorcycle Photo Shoots: Why & When
A motorcycle photo shoot isn’t just about pointing a camera at your bike and clicking away. It’s a thoughtful process that captures the essence of your ride, showcasing the unique personality of your motorcycle and the special bond between rider and machine.
Professional photographers who’ve immortalized hundreds of motorcycles consistently report that quality photos help bikes sell faster online. One photographer shared with us that after photographing over 300 motorcycles for listings, he noticed a significant improvement in sales rates and even better rankings for business websites featuring his work.
Why riders crave Motorcycle photo shoots
There’s something magical about seeing your motorcycle captured in perfect light. Heritage documentation becomes increasingly important, especially for custom Harleys or lovingly restored vintage Indians that deserve to be preserved in their prime condition.
Let’s be honest – we all enjoy a bit of bragging rights when it comes to our bikes. As one rider colorfully put it during a forum discussion, “I want photographic proof in my old age that I used to do cool stuff rather than play dominoes in a nursing home.” That sentiment resonates with many of us who see our motorcycles as extensions of ourselves.
When it comes time to sell, those who invest in professional images typically enjoy better resale value. Bikes with stunning photos not only sell faster but often closer to asking price – the visual appeal creates an emotional connection with potential buyers before they ever see the bike in person.
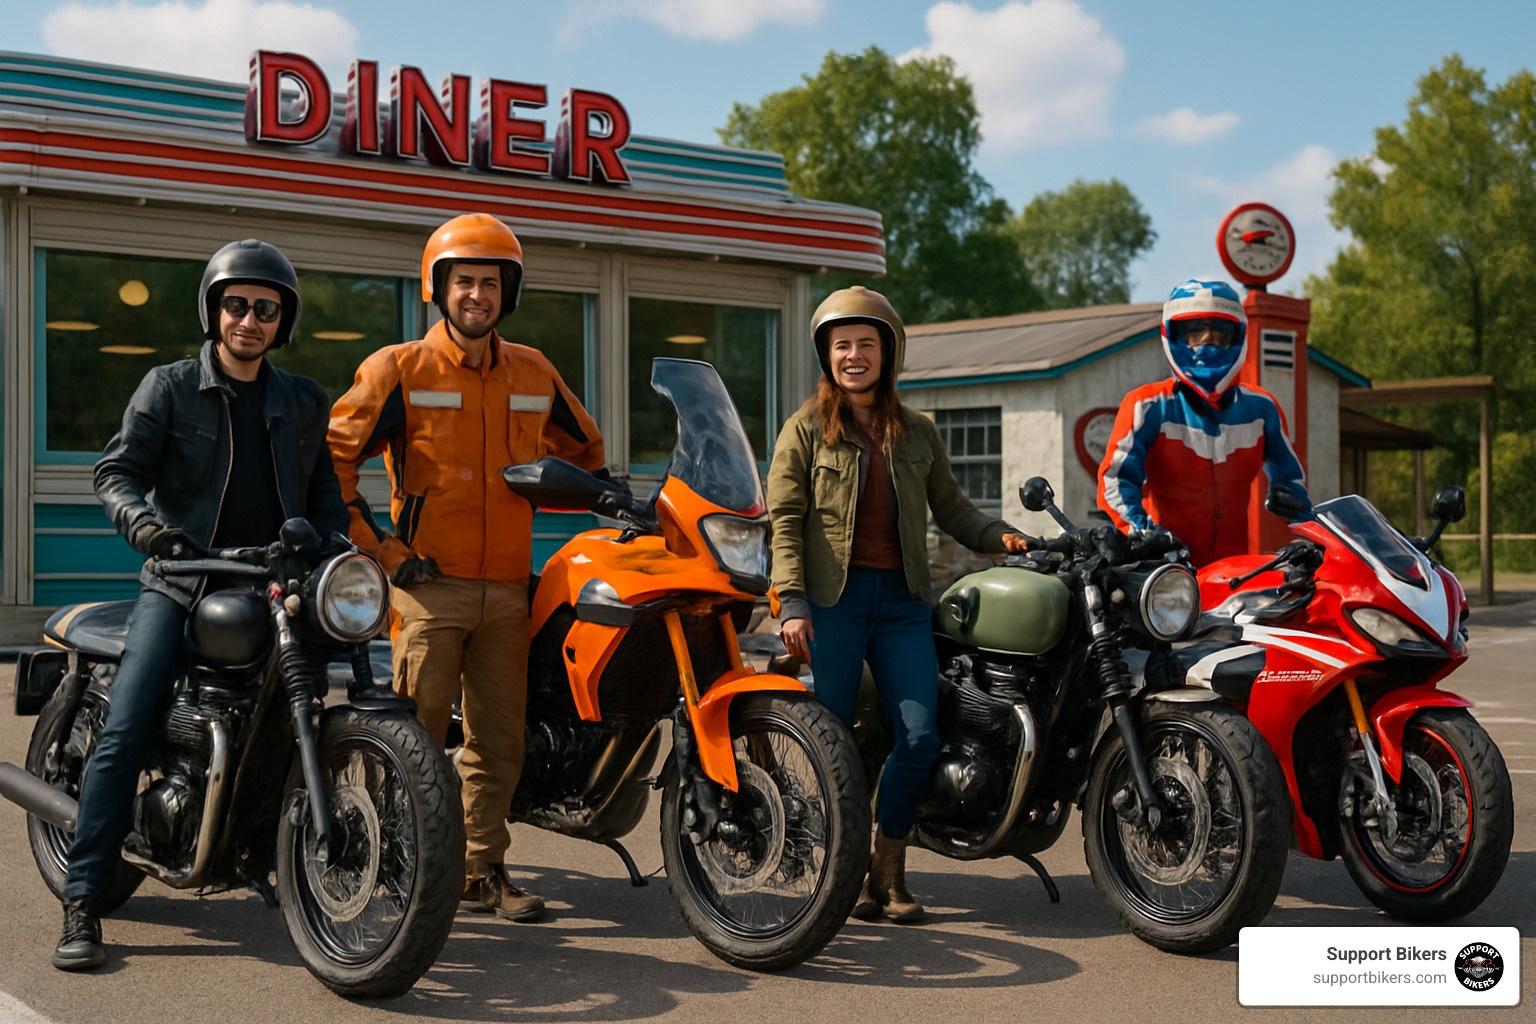
Motorcycle photo shoots have evolved beyond individual sessions to become community events where riders gather to share their passion. These group shoots create lasting bonds and memorable experiences that strengthen the motorcycle community.
There’s also the simple personal satisfaction of seeing your motorcycle presented at its absolute best. After all the hours spent wrenching, polishing, and customizing, a professional photo validates all that care and attention.
When to schedule Motorcycle photo shoots
If you want your motorcycle to truly shine in photos, timing is everything. The consensus among professional photographers is crystal clear: shoot during the “golden hours.”
During morning golden hour – that magical period from 30 minutes before sunrise to about an hour after – you’ll find crisp, clear air quality and soft, directional light with slightly cooler tones. The roads and locations are typically empty, giving you freedom to work without interruptions. Morning dew can even add interesting elements to close-up detail shots of your bike.
The evening golden hour offers equally beautiful but distinctly different qualities. From about an hour before sunset until 30 minutes after, you’ll capture warm, golden light that makes chrome sparkle and paint colors pop. The dramatic long shadows add depth to your images, and the more relaxed pace of evening shoots often makes scheduling easier for everyone involved.
A photographer friend once told me, “A sunrise ride through the Columbia Gorge is more vibrant than a sunset.” This highlights an important point – different locations can favor different times of day, so plan accordingly.
Weather apps with sunrise/sunset calculators have become indispensable tools for planning the perfect shoot. I recommend checking the forecast at least 48 hours beforehand and always having a backup date ready in case Mother Nature doesn’t cooperate. Your motorcycle photo shoot deserves perfect conditions – patience will reward you with images worth the wait.
Plan & Gear Up: Location, Weather, Equipment
The magic that transforms casual bike snapshots into jaw-dropping motorcycle imagery usually boils down to one thing: preparation. I’ve learned this lesson the hard way after showing up to shoots with dead batteries and dirty bikes more times than I’d like to admit!
Location scouting
Finding that perfect backdrop for your steel horse isn’t just about pretty scenery. It’s about telling your bike’s unique story.
Your chopper or cruiser will shine against different backdrops than a sport bike. Industrial zones with weathered brick and metal elements create a rugged canvas for custom builds, while those sweeping mountain roads make trip bikes look right at home. One rider in our community found an abandoned drive-in theater that provided the perfect nostalgic setting for his restored vintage Harley.
Clean backgrounds make all the difference. As my photographer buddy Mike always says, “The busier the background, the less the eye focuses on your bike.” Avoid power lines, busy storefronts, or anything that cuts across your motorcycle’s natural lines. Sometimes the simplest parking lot with a distant treeline creates the most striking images.
Don’t overlook the practical stuff. Safe access matters—I once found the perfect cliff overlook for a shoot, only to realize we’d need mountain climbing gear to position the bikes properly! And don’t forget about permits. While many public spaces are fair game, some scenic spots require permission. A quick call to local authorities can save you from an awkward conversation with rangers mid-shoot.
A local forum member recently shared a gem: “Art Cowsen Memorial Trailhead near Winscott and Lakeside Drive has perfect morning light and zero traffic.” These local insider tips often lead to the most memorable locations.
Motorcycle photo shoots checklist
The morning of your shoot should feel a bit like prepping for a first date—your bike deserves to look its absolute best.
Wash-prep is non-negotiable. A thorough cleaning the day of your shoot ensures your motorcycle gleams in the golden hour light. Pay special attention to chrome, glass, and painted surfaces—these are where light plays most dramatically. As my riding buddy colorfully puts it, “Make sure to scrub the butterflies off!” Those bug splats on your headlight might tell the story of your last trip, but they rarely photograph well.
Consider temporarily removing saddlebags or accessories that disrupt your bike’s clean lines, unless they’re integral to the story you’re telling. And don’t forget to check tire pressure—a slightly flat tire can ruin an otherwise perfect profile shot.
Equipment failure can kill a shoot faster than bad weather, so pack spare batteries and memory cards. I learned this lesson when my camera died just as perfect storm clouds were gathering behind my Sportster. Talk about heartbreak!
Rider gear completes the picture. Clean, coordinated riding attire can lift your photos from good to magazine-worthy. Think about what story you’re telling—touring gear for trip bikes, vintage leather for classics, race leathers for sport bikes.
| Lighting Condition | Advantages | Challenges | Traffic Considerations |
|---|---|---|---|
| Golden Hour (Dawn) | Soft, warm light; minimal shadows; clean air | Early wake-up; narrow time window | Minimal traffic; peaceful shooting |
| Golden Hour (Dusk) | Warm tones; relaxed schedule; dramatic sky | Fading light; time pressure | Evening rush hour possible |
| Midday | Convenient timing; bright conditions | Harsh shadows; unflattering highlights | Busy locations; more onlookers |
| Overcast Day | Even lighting; reduced shadows | Flat images; less drama | Weather unpredictability |
Gear that delivers
The good news? You don’t need professional equipment to capture stunning motorcycle images. As one photographer in our community emphasized, “Nothing fancy, no off-camera flashes or techy ‘professional’ gear. Where you position the bike, the light, and composition are more important.”
That said, certain tools do make the job easier. An entry-DSLR can be found for around $300 on eBay, while mirrorless cameras offer excellent image quality in a more compact package. Even smartphone cameras can produce impressive results with proper technique—especially newer models with portrait modes.
When it comes to lenses, the Sigma 56mm f/1.4 is frequently praised as a “game changer” for motorcycle photography. Its focal length creates natural proportions while the wide aperture produces that dreamy background blur that makes your bike pop. Generally, avoid focal lengths below 50mm which can distort your bike’s proportions, making the tank look bulbous and unnatural.
For action shots, action-cams like GoPros mount easily to helmets or handlebars, capturing dynamic riding sequences. Drones offer breathtaking aerial perspectives (just check local regulations before launching). And don’t underestimate the value of a good tripod and simple reflectors—even a white foam board can bounce light into shadowy areas.
Creative props can take your shoot to the next level. LED light strips create futuristic nighttime effects, while vintage maps and period-appropriate gear can improve themed shoots. One rider brought his grandfather’s Army jacket to a shoot with his restored military-inspired custom—creating a powerful visual connection between machine and family heritage.
Find specialized motorcycle photography services in your area through our photography listings. These pros understand the unique challenges of motorcycle photography and often bring specialized equipment to the table.
Master the Shot: Settings, Lighting, Posing & Creative Ideas

You’ve prepped your bike, found the perfect location, and gathered your gear. Now comes the fun part – capturing images that’ll make fellow riders stop scrolling and say “wow.” Let’s explore the techniques that’ll transform your motorcycle photo shoot from basic snapshots to wall-worthy art.
Camera settings for motorcycle photography
I remember my first serious bike shoot – I was overthinking every setting until an old photographer at a rally told me, “Get low and let the bike do the talking.” He was right, but a few technical basics will set you up for success.
Start with an aperture around f/4 – this sweet spot gives you a nicely blurred background while keeping your motorcycle crisp and detailed. When shooting those close-up engine details or badge shots, bump it up to f/8 or higher to ensure everything important stays in focus.
For shutter speed, think 1/125 second or faster when your bike’s parked. This prevents any camera shake from ruining your shot, especially if you’ve had a few cups of coffee that morning! If you’re capturing your buddy roaring past, crank it up to 1/1000 second or faster to freeze every gleaming detail.
Keep your ISO as low as possible – usually 100-200 in good light. This preserves those rich colors in your paint and chrome. Modern cameras handle higher ISOs impressively well when the light starts fading, so don’t be afraid to adjust as needed.
The single most transformative technique? Get low. I’m talking tank-level or lower. This perspective instantly makes any motorcycle look more commanding and powerful in the frame. I’ve literally laid on the ground for the perfect shot, and the dirty jeans were worth it every time.
Static Poses that Sell
Every great motorcycle photo shoot includes several key compositions that showcase your bike’s personality. The classic 45-degree angle captures both front and side details, highlighting headlights, tank, and overall proportions in one balanced shot. It’s the motorcycle equivalent of a portrait photographer’s “three-quarter view” – flattering for almost every bike.
The clean side profile is another essential. Position yourself at tank height and capture your motorcycle’s lines from headlight to tailpipe. This angle reveals the bike’s stance and proportions in their purest form. I’ve found early morning light makes these shots magical – the low-angle sun creates dramatic shadows that accentuate every curve.
Don’t forget those detail macros. Close-ups of emblems, engine components, and custom work tell your bike’s unique story. Use a wide aperture to create a shallow depth of field that isolates these elements against a soft background. These intimate shots often become favorites because they capture the craftsmanship that makes your ride special.
When including a rider in static shots, aim for natural poses. Have them sit comfortably, either looking toward the camera or gazing down the road ahead. For a sense of movement without actually riding, ask them to position their body as if taking a curve – this creates visual energy even in a stationary shot.
As my riding buddy Mike always says, “Make sure your bike is the star.” Find backgrounds that complement rather than compete with your motorcycle. Sometimes this means simply changing your position rather than moving the bike to find a cleaner backdrop.
Motorcycle photo shoots on the move
There’s nothing like action shots to capture the spirit of motorcycling, but they require extra planning and safety considerations.
The chase car technique is a classic approach – having a photographer shoot from a vehicle traveling alongside the motorcycle. This requires absolute trust in your driver and clear communication. I’ve found that walkie-talkies or Bluetooth headsets are invaluable for coordination. Safety always comes first – use experienced drivers, maintain reasonable speeds, and establish clear signals before you start.
Track days offer controlled environments perfect for action photography. As one wise forum member noted, “Trackdays frequently have photographers for that, and the street isn’t the place to be trying multiple high-speed runs past the same corner over and over.” These events let you focus on riding while professional photographers capture the action.
Panning shots create that beautiful sense of speed while keeping your motorcycle sharp. Position yourself alongside a road, use a slower shutter speed (1/15 to 1/60), and smoothly follow the moving bike with your camera. The result? Your motorcycle appears razor-sharp while the background blurs into streaks of color. It takes practice, but the results are worth it.
When shooting near roadways, photographers should wear high-visibility vests. And always establish clear signals between rider and photographer before beginning any action sequences. The scientific research on motion blur confirms what we instinctively know – our brains interpret certain patterns of blur as movement, making these shots particularly effective at conveying the thrill of riding.
Dare to Create: themes & group fun
Once you’ve mastered the basics, themed motorcycle photo shoots open up endless creative possibilities.
Retro-vintage shoots pair classic motorcycles with period-appropriate clothing and locations. I helped organize one where we found an abandoned gas station from the 1950s – the riders wore leather jackets and cuffed jeans, and the resulting images looked straight out of an old movie. The local motorcycle club loved them so much they became their official promotional materials.
Biker couples shoots celebrate the special bond between riding partners. Whether featuring one bike or two, these images capture the shared passion that strengthens relationships. One of my favorite shoots featured a couple who’d been riding together for 40 years – their weathered faces and matching Harley vests told a love story that words never could.
Charity ride documentation serves both your photography passion and the community. These images often find homes in local publications, helping raise awareness for important causes. The smiles on riders’ faces as they support something bigger than themselves create uniquely powerful images.
Cross-generation shoots featuring bikes and riders from different eras create meaningful family narratives. Imagine capturing a grandfather on his restored 1960s Harley alongside his grandson on a modern cruiser – these images become family treasures.
For group shoots, keeping everyone in a single location reduces logistical complexity and maintains consistent lighting across images. This allows riders to arrive at their convenience while ensuring visual cohesion in the final collection.
I witnessed a stunning example called the “Rebel Heart” shoot featuring a Royal Enfield Bullet, stylist Sydney Ballesteros, and model Lisa Marie Lipscomb. Through careful styling and location choice, they created a powerful visual story that celebrated both the bike’s heritage and the rider’s spirit. The images went viral in the motorcycle community, proving that thoughtful creative direction lifts ordinary bike photos into art.
Edit, Share & FAQs
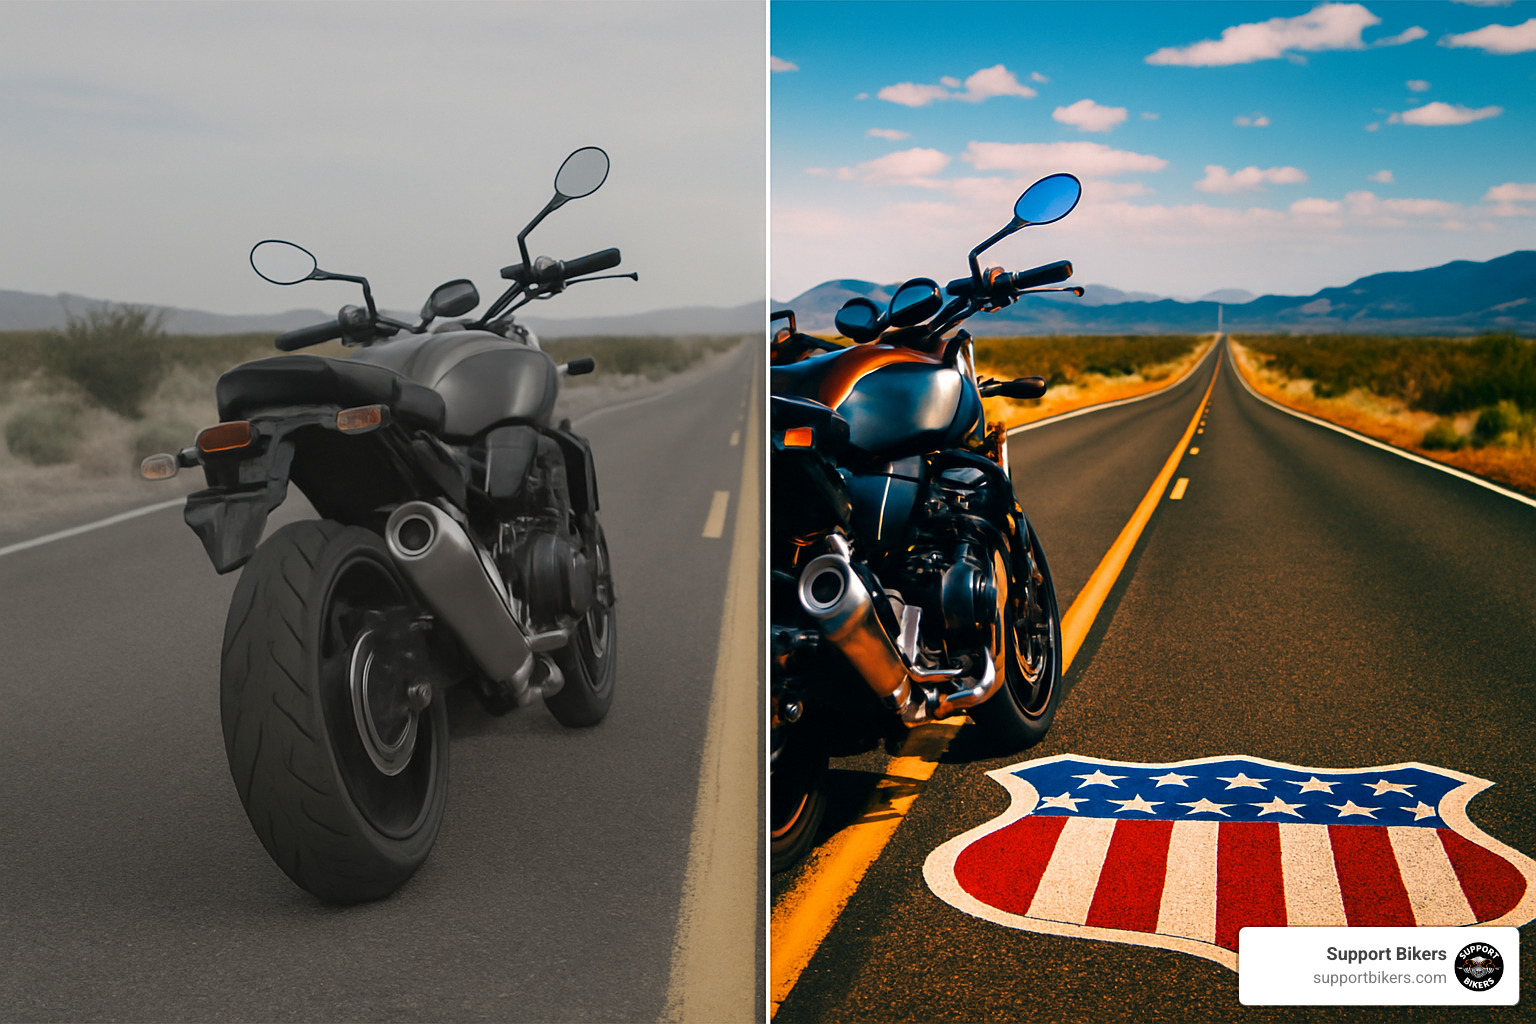
Your motorcycle photo shoot isn’t complete until you’ve polished those raw images into gallery-worthy masterpieces. Think of editing as giving your bike that final detail polish before a show—it makes all the difference.
Post-processing essentials
Even the most stunning raw shots need a little love in post. Adobe Lightroom (about $10 monthly) has become the go-to for most motorcycle photographers, offering intuitive tools that won’t overwhelm beginners. If you’re budget-conscious, free alternatives like GIMP or Darktable can get you surprisingly similar results.
When you sit down to edit, focus on the fundamentals first. Make sure your horizon is straight—nothing ruins a great motorcycle shot faster than a tilted horizon that makes it look like your bike is about to roll away! Next, gently lift those shadowy areas under tanks and fairings where details get lost. Your chrome and paint should pop, but be careful not to push so far that your bike looks like a cartoon version of itself.
“In post: lighten dark areas, level the horizon, and leave ample framing space,” advised one seasoned motorcycle photographer I spoke with. His simple approach ensures your bike remains the undisputed star while still looking authentic.
Developing a consistent color style can help build your signature look. Warmer tones often bring out the best in classic American cruisers, highlighting their vintage appeal, while cooler tones can complement the technical precision of modern sportbikes. Whatever you choose, consistency across your collection tells a cohesive story.
Sharing your motorcycle masterpieces
Those gorgeous shots deserve an audience! Instagram and Facebook naturally attract motorcycle enthusiasts, especially when you include relevant hashtags like #motorcyclephotography and #bikerlife to connect with the community. But don’t stop there—rider forums are gold mines of appreciation where fellow enthusiasts will notice those little details you worked so hard to capture.
For a more permanent showcase, consider setting up a dedicated portfolio on Flickr or SmugMug. Many riders I’ve photographed have taken their favorite shots to print, creating stunning garage or home office displays that celebrate their passion daily.
“My bike photos got more engagement than anything else I’ve ever posted,” one rider told me after sharing his sunset Harley shots. “People who don’t even ride were asking questions about the bike.”
Don’t forget to share your experiences with our Support Bikers community—your successes (and even failures) help others plan their own shoots. For inspiration on where to stage your next session, check out our guide to Motorcycle Destinations.
Frequently Asked Questions about Motorcycle photo shoots
How do I photograph bikes in harsh sunlight?
We’ve all been there—perfect bike, perfect location, but the midday sun is creating shadows darker than a mechanic’s fingernails. The simplest solution? Find what photographers call “open shade” under trees or bridges where light is naturally diffused.
No shade available? A simple reflector (even a white t-shirt held by a friend) can bounce light into those harsh shadows under your fenders and engine. Position your bike at a 45-90° angle to the sun to minimize glare, and consider investing in a polarizing filter—it’s like sunglasses for your lens that cut through reflections on chrome and paint.
“If shooting under a high sun, find open shade,” shared one photographer who’s captured hundreds of bikes. “It’s the difference between a snapshot and a photograph.”
What camera settings capture motion safely?
Capturing your bike in motion creates dynamic images, but requires both technical skill and safety consciousness. Start with shutter priority mode (Tv or S on your camera dial) and speeds of at least 1/1000 second to freeze action. Enable continuous autofocus so your camera tracks the moving motorcycle, and shoot in burst mode to increase your chances of nailing the perfect moment.
For those dreamy panning shots where the bike is sharp but the background blurs with speed, start practicing at 1/60 second and gradually try slower speeds as your technique improves. Most importantly, position yourself safely away from the riding path—no photo is worth risking injury.
As one expert bluntly put it: “The street isn’t the place to be trying multiple high-speed runs past the same corner over and over.” Consider organized track days where photographers often have dedicated safe zones for capturing action.
How can I organize a multi-rider shoot?
Group motorcycle photo shoots bring their own challenges, but the results—a lineup of gleaming machines with their proud owners—are worth the effort. Success hinges on simplicity: choose one scenic location with multiple shooting spots nearby rather than trying to coordinate a motorcycle parade between distant locations.
Create a clear communication channel with all participants—whether that’s a group chat or email thread—with specific details about timing, meeting point, suggested attire, and bike preparation expectations. Designate specific roles to keep things running smoothly: someone to coordinate parking, another to manage the shooting schedule, and helpers for holding reflectors or gear.
“Single-location focus” was the key insight from an organizer who successfully wrangled 15 bikes for a charity calendar shoot. “We found a state park with three distinct settings within walking distance—a covered bridge, an open field, and a lakefront. Everyone got variety without the headache of moving the whole group.”
For more specialized parts to make your bike photo-ready, explore our directory of motorcycle parts suppliers who can help you put the finishing touches on before your next shoot.
Conclusion
The open road has always called to those who seek freedom, and a well-executed motorcycle photo shoot captures that spirit in a frame. Whether you’re documenting your custom build, creating memories of a cross-country trip, or simply celebrating the machine that brings you joy, thoughtful photography preserves these moments for years to come.
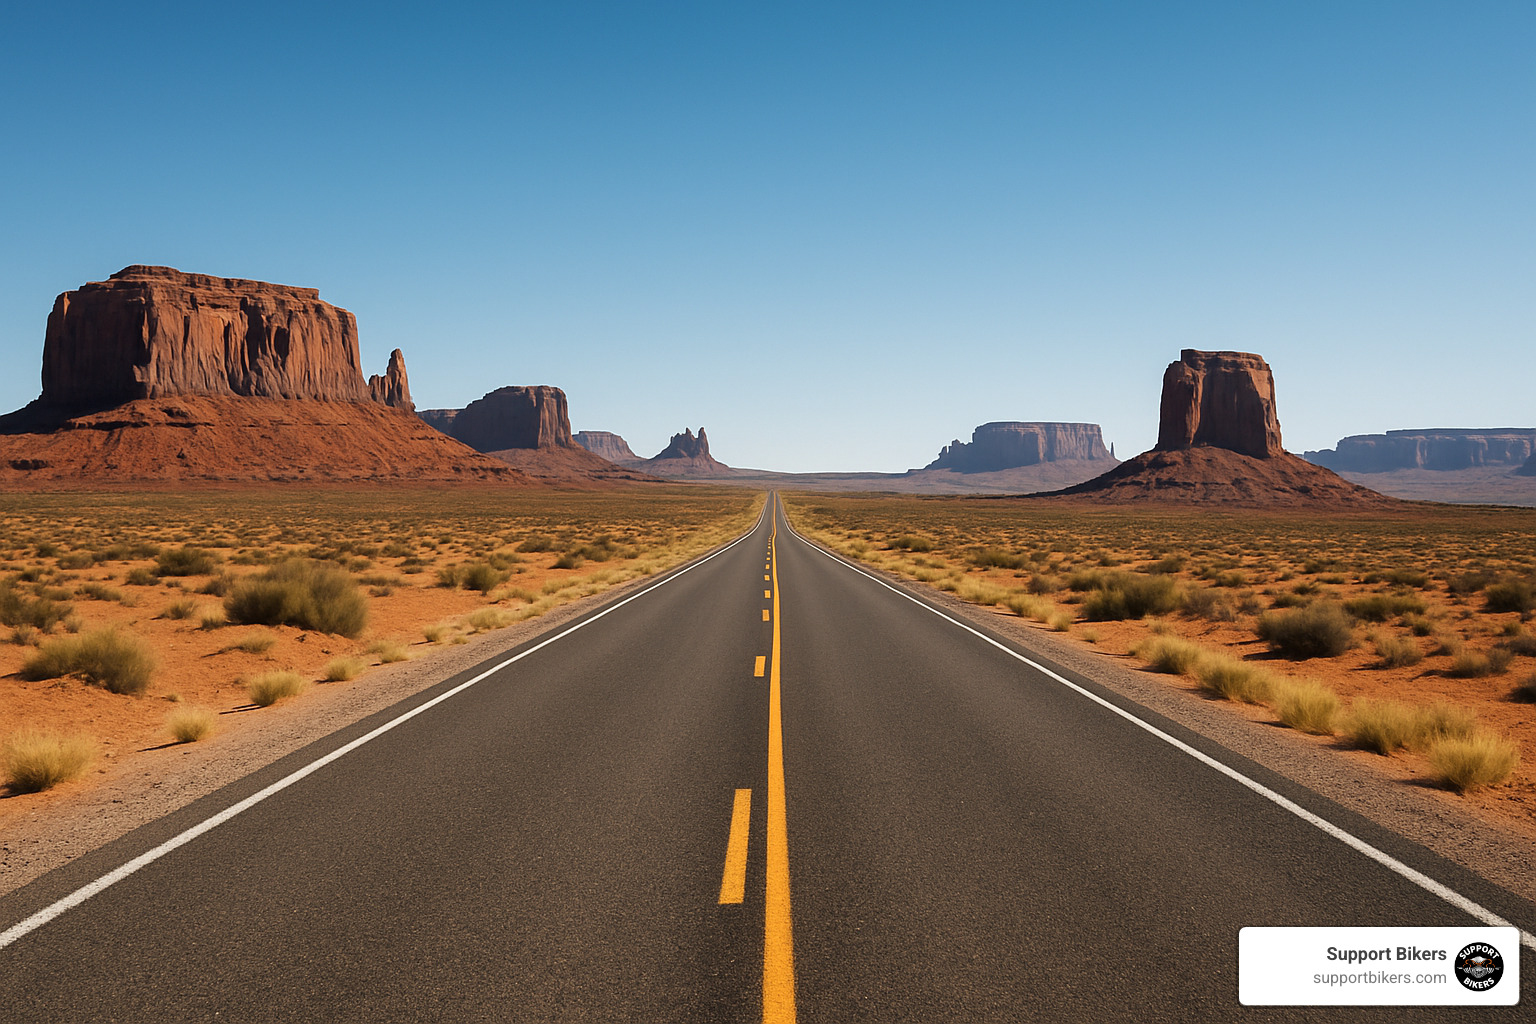
I’ve seen how quality images strengthen the bonds within our riding communities. From Arizona’s desert highways where the light paints everything in gold, to Florida’s coastal routes with their dramatic ocean backdrops, riders everywhere are creating visual legacies of their two-wheeled journeys. These aren’t just photos – they’re stories waiting to be shared.
You don’t need professional equipment to create images that stir emotion. Golden hour lighting transforms even the most ordinary bikes into extraordinary subjects. A clean motorcycle shot from a low angle rarely disappoints – it’s a simple technique that dramatically improves your results. And while gear matters, your passion and creativity matter more. The best camera is the one you have with you when inspiration strikes.
Taking the time to plan your shoot – scouting locations, checking weather apps, and preparing your bike – might seem tedious, but this preparation pays dividends in the quality of your final images. Those extra minutes spent polishing chrome or finding the perfect backdrop can lift a simple snapshot to a wall-worthy print.
When you share these images with our Support Bikers community, you’re not just showing off your ride (though there’s nothing wrong with that!) – you’re connecting with fellow enthusiasts who understand the thrill of the ride and the pride of ownership. You’re inspiring others to create their own visual stories and preserving a piece of motorcycle culture.
Ready to customize your ride before its close-up? Explore our directory of motorcycle parts to find quality components in your area. Sometimes that new exhaust or custom seat is just what your bike needs to look its absolute best on camera.
We’d love to see the results of your motorcycle photo shoots! Share your images with our community and inspire fellow riders to create their own visual stories. After all, every great ride deserves to be remembered, and every beautiful motorcycle deserves its moment in the spotlight – captured forever in perfect light, from just the right angle, telling the unique story that only your bike can tell.

0 Comments